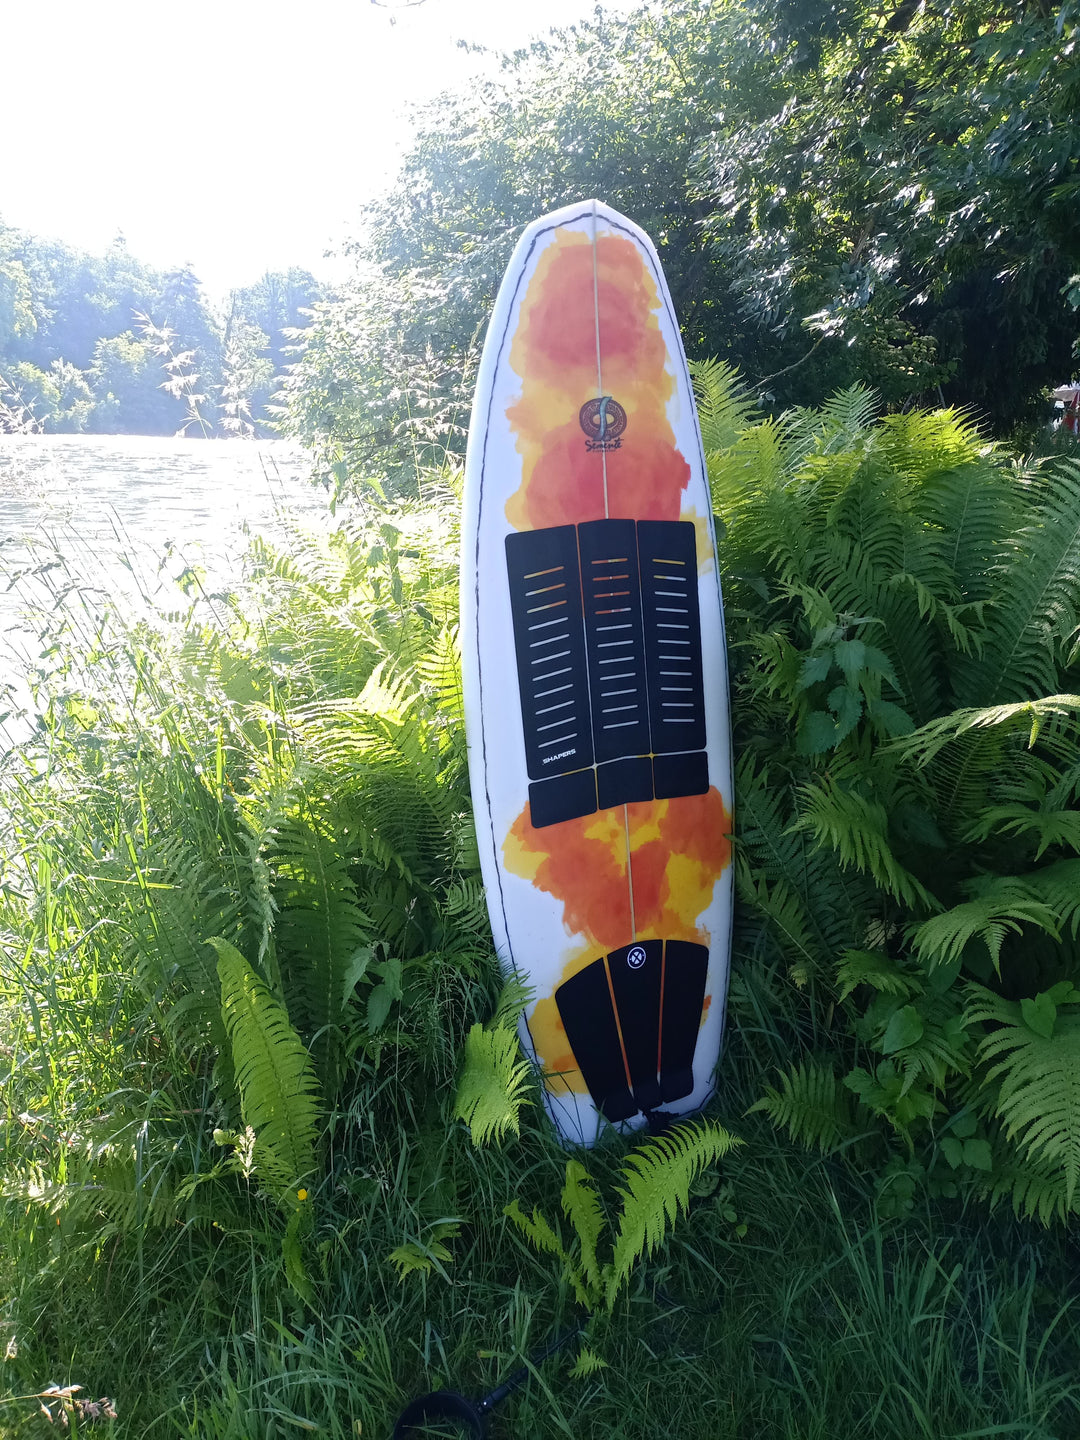
HOW TO: PAINT YOUR SURFBOARD
1st step: Remove wax
Remove the wax from the surfboard with a wax comb. The easiest way is to lay the board in the sun for 3-5 minutes (depending on how hot it is) so that the wax can melt. Another chemical-free alternative would be to use a hair dryer to blow hot air on the wax until it starts to melt.
If you have a brand new surfboard you can skip this step and go straight to the next step.

Step 2: Clean the surfboard
Once you've removed most of the wax, it's important to completely remove the remaining wax stains and visible dirt. There are several ways to perfect this - the most common being a dewax (a product spread all over the area to be dewaxed and then wiped off with paper towels) or a dewaxing ball (such as the 'Cannon Ball').
Even if you have a brand new surfboard the surface needs to be thoroughly cleaned and degreased as they usually contain fingerprints and dust from transport and storage.

Step 3: Sand lightly
Surfboards need to be lightly sanded before painting. Sanding creates a rough surface, which ensures better adhesion of the paint to the surfboard (if the surface is not sanded, the paint may flake off easily). Make circular movements while grinding until a white, powdery mixture comes off the surfboard. Then wipe off the dust with a paper towel or rag and you're ready to paint your surfboard! :-)
Step 4: Planning your artwork
The planning for your next surfboard project does not have to be extensive, you can also be inspired by Borweg and start drawing wildly. We recommend using a pencil to outline the outline of the drawing or graphic. A very popular option is to print something out and then trace it. Some surfers go wild without preamble, which is a great way of expressing themselves. Luckily, the Surfpaints are water-based acrylic markers, so if something doesn't come out the way you like, it's easy to remove.

Step 5: Paint your surfboard with the Surfpaints acrylic pens
Shake the colored pen to allow the ball in the pen body to mix with the color. Test the colored pencils by pressing the nib on a piece of test paper. Once the pen draws a clean line and flow on the test paper, it is ready to be applied to the surfboard. If the paint flows less freely during application , press the pen down on the test paper again and let some paint out. After use, be sure to put the cap on the pen to prevent the nib from drying out. The paint is permanent on porous surfaces like surf lines and erasable on non-porous surfaces like fiberglass.

Step 6: Apply a spray paint to seal the artwork
This step is very important. The most common mistakes are not applying enough coats, allowing the artwork to scratch off over time, or using an inappropriate clear coat. The clear coat must be an acrylic paint spray paint. Acrylic paint is a non-toxic, water-based paint that dries quickly and works best on surfboards. Other paints such as enamel are usually oil based and intended for indoor use (causing the surfboard to yellow over time). We recommend a clear acrylic "gloss" or "matte" spray paint.

What to do if error happens while removing color:
You don't need any chemicals to remove Surfpaints pens! Please follow the steps below if you need to remove anything:
- If it's a minor mistake, try painting over the area again once the paint has dried
- If the paint is wet, you can simply wipe it away with a rag or paper towel until it's gone. Sometimes the paint can still leave smear marks that require a light rub with steel wool
- When the paint is dry, use steel wool
- If the artwork has already been covered with clear coat, it can easily be sanded back with 120-180 grit sandpaper


