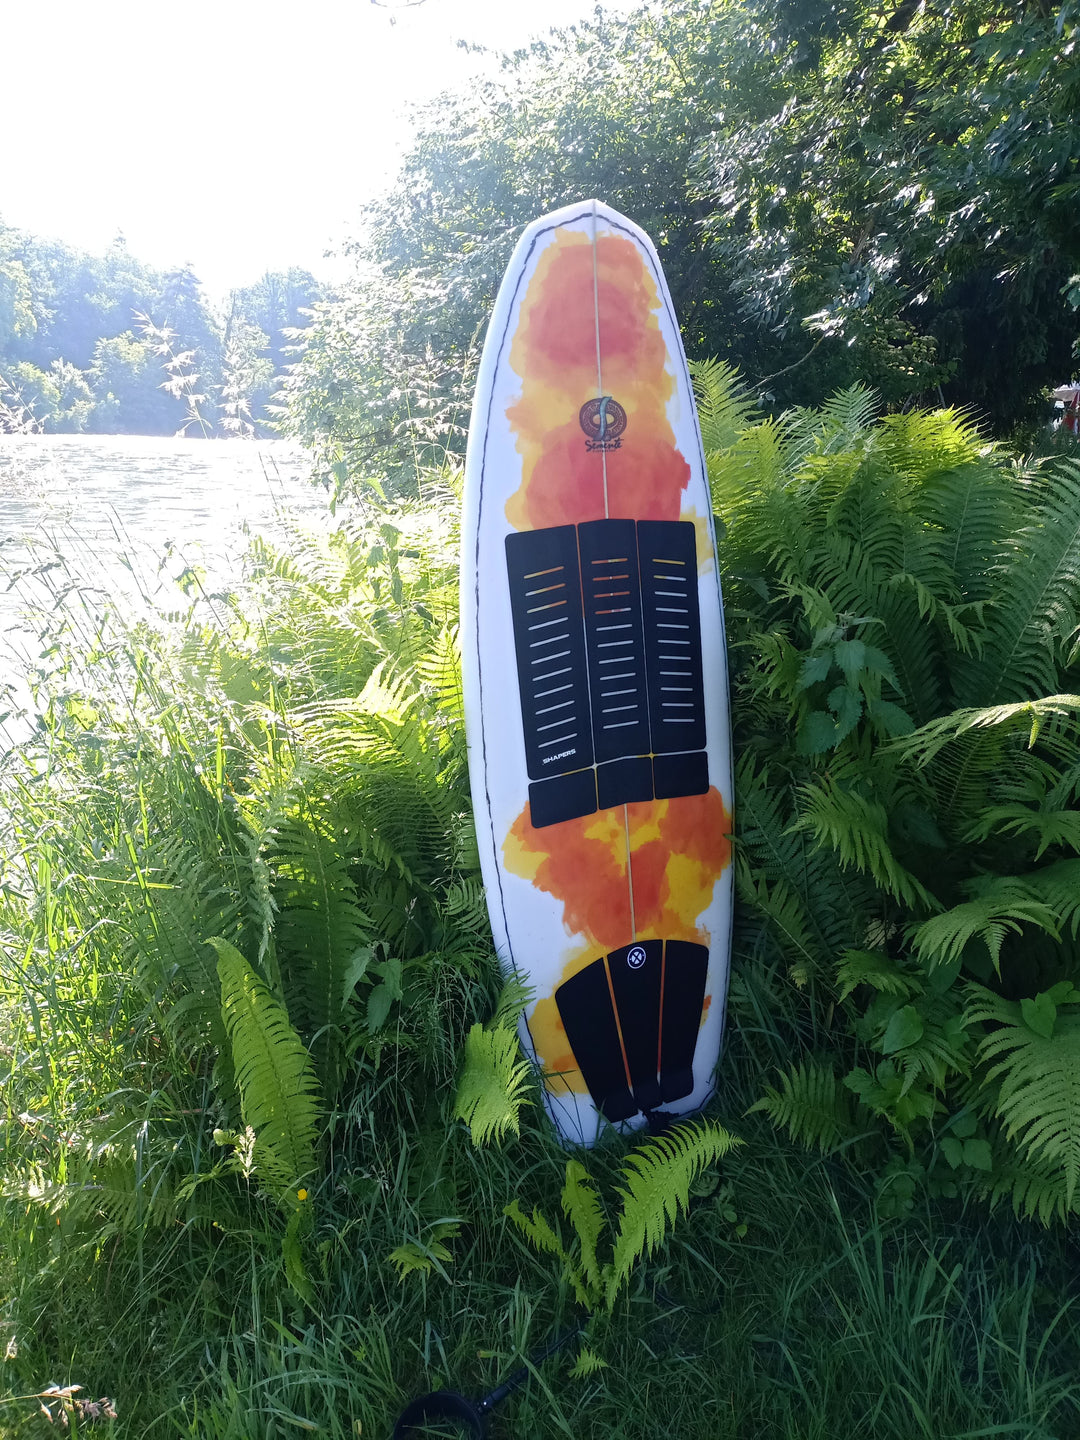
Ding repair from A like sanding to Z like putting things together
Have you picked up a little thing on your board and don't exactly have two left hands? Then this little tutorial is just right for you :)
Let's start by determining the damage and feasibility. As a rule, repairs up to the size of a golf ball are realistic. This includes broken noses, minor damage on the top and bottom sides and also various rail repairs... For larger things, the help of a professional is recommended. A professional like our Ding Doc Claude - we have summarized his services on the following page:
https://surfari.ch/pages/repairs
As a first step, you should let your board dry out for 3-7 days. (The foam cores of surfboards can draw water as soon as the outer shell is damaged, causing further damage.)
Always repair your board protected from the sun so that you only use the curing process when you want it.
You should roughly sand and clean the area to be repaired.
Now fill the hole with the polyester or epoxy-specific UV Cure Resin (It's better to proceed sparingly and in two steps than to use too much right from the start :) This saves you from having to sand excessively after curing.)
After filling, it is recommended to cover the area with adhesive strips and plastic film to smooth the repair and reduce rework.
Once you're happy with the filling and covering, you can place your board in the sun to start the curing process.
Even in cloudy weather, Solarez hardens after a few minutes and is ready for further processing.
The final step involves sanding the repaired area smooth with fine sandpaper. (Wet sanding with a 240 grit is recommended as the very last step.)
Here you can find all the products you need to repair your board:
https://surfari.ch/collections/repair
Attached are the instructions in writing and pictures:
Voila!


